How to Create Feeds
This is an advanced tutorial, that assumes at least some familiarity with Drupal content types, fields, and views.
Things Feeds are helpful for
- Creating news feeds or event feeds, so that content with the appropriate tag can be imported from Western Today onto a department site, or from a department site into the University Calendar
- Moving content from one Drupal site to another
- Keeping content synced between two different Drupal sites
Overview of the process
I'll refer to the site you're exporting content from as the export site, and the site you're importing to the import site.
In general, how feeds works is that you:
- Create a view on the export site in some kind of RESTful data format, in this case JSON or XML
- Use the feeds module on the import site to to map the fields from that view into nodes on the import site
This tutorial's example uses JSON as the RESTful format for most of the examples, but you can use XML if you prefer working with that data format.
To create a view, you'll need to both have login access to the export site and appropriate permissions. If you do not have access to the site (for example, if you are attempting to create a Western Today news feed) you'll need to request help from WebTech in getting the view set up. You can also request help with getting permissions configured if you do have access to the export site, but are unable to create the view.
Enable Modules
On both the import and export site, enable the module RESTful Web Services
On the import site, enable Feeds, Feeds Extensible Parsers, Feeds Tamper, and Tamper
On the Export Site: Set up a RESTful Export View
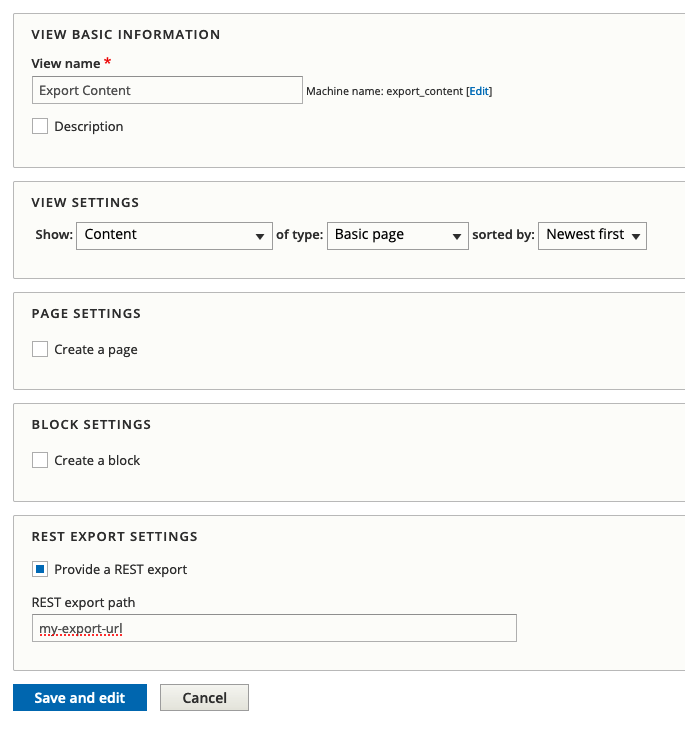
Create the RESTful export view
Create a view of the content type that you are exporting.
- The view should be of the content type you are exporting.
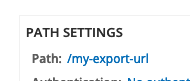
- Select Provide a REST export and set the REST export path
Tip: Number of Items to Display
By default, the view will be set up to display 10 items. It is a good idea to keep this limit while you are configuring and testing your feed. This keeps the import file small and loading quickly, and also gives you a small amount of data to troubleshoot with.
After you successfully have 10 items importing as expected, you can change or remove this limit to import more or all items.
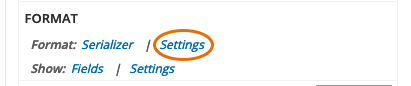
Configure the View
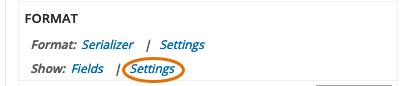
Under the format section, open the Settings next to Serializer.
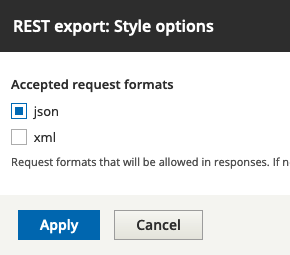
Select the format you wish to use, JSON or XML.
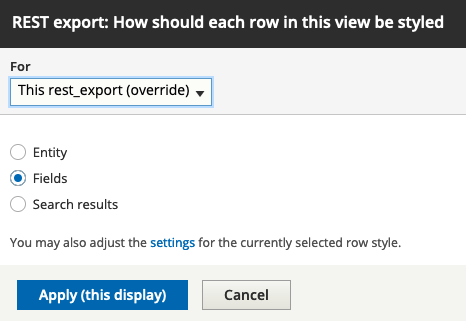
Under Show, open Fields.
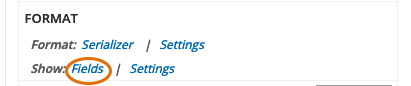
Select Fields as the row style.
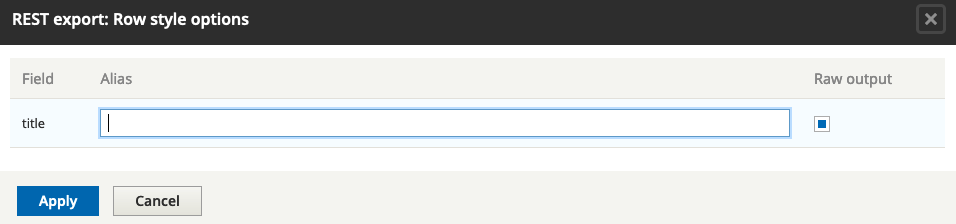
Next to fields, open the Settings link. This will show you any available fields you have added in the next section of the view. For the Title, check the Raw output option. You may need to check this option for other fields in your view as you add them.
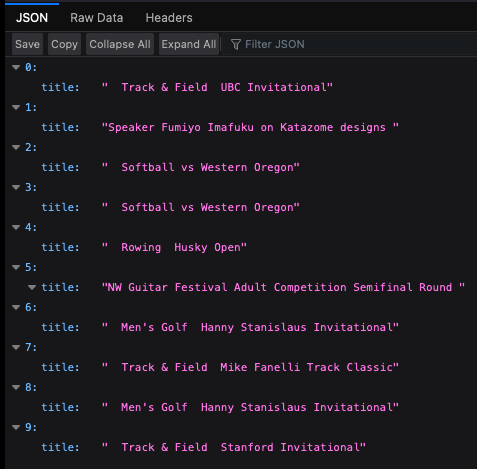
Preview the View Output
Open the URL path that you set in your browser. Your browser should detect and parse the data as JSON or XML and display it in an easy to read and navigate format.
If you are unable to reach this URL or are served an error, double-check the settings from the previous section.

On the Import Site: Create a Feed
Recreate the content type
On the import site, create the the content type you'd like to import the data into. For example, if this is news feed, create a "News" content type. If you are migrating content, the content type will likely be the same as it was on the export site.
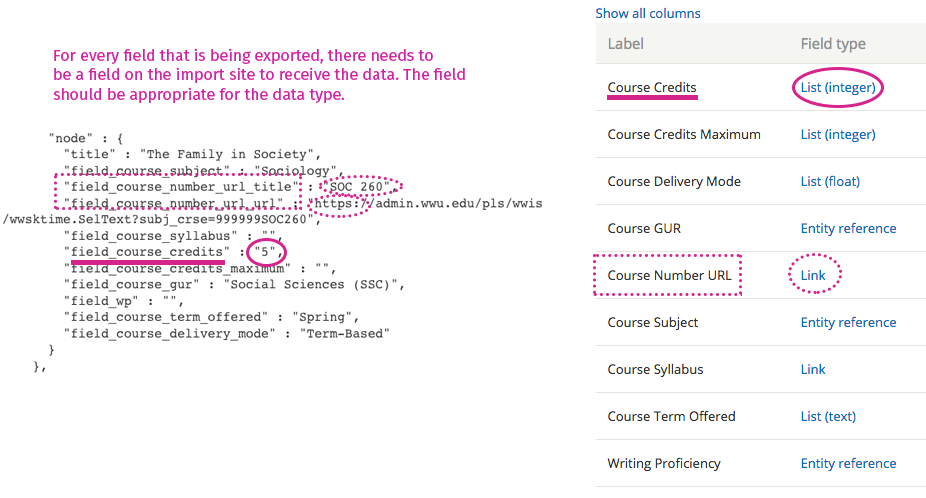
The fields you will need to add on the new content type should match the fields on your export view, and be the appropriate field type to hold that data.
Create a feed type
Structure > Feed Type > Add Feed Type
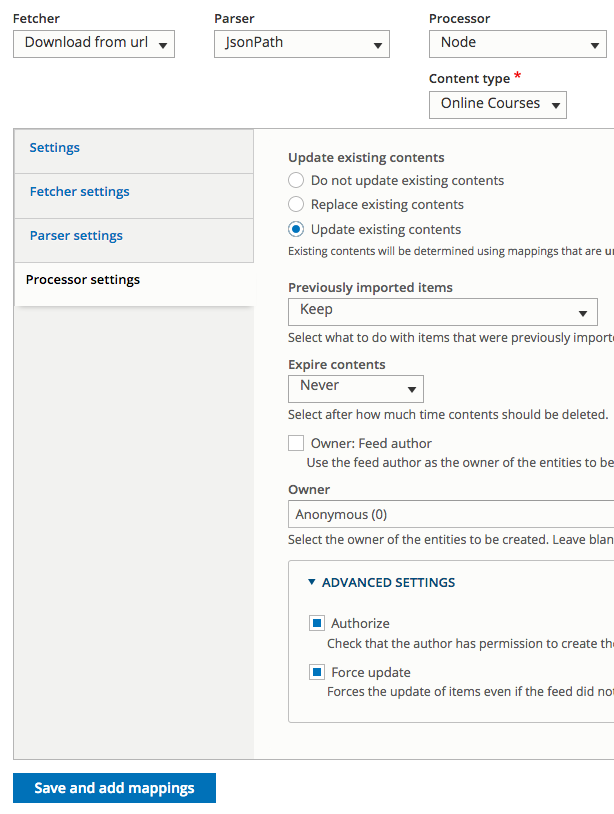
- Set the Fetcher to Download from url
- Parser should be JsonPath (or XML)
- Processor is usually Node (Though, you can import other entities, like users! See the special note at the end for User Feeds)
- Set the content type to whatever you created
Under Settings:
- Set the import period to whatever makes sense. For things like News and Events feeds, you'll want this to be somewhere in the 15min - 1hr range, as those updates should come through often. For things like content migrations, I usually set this to Never so that I'm only ever doing manual imports.
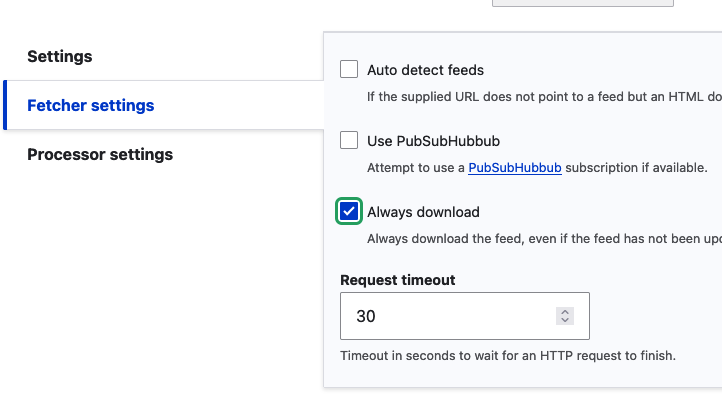
Under Fetcher Settings:
- Check Always Download
Under Processor Settings:
- Check Update existing contents
- You may also want to check Force update under advance settings.
Then click the Save and add Mappings button.
Set the Context & Mappings
Importing from a Drupal RESTful View
If you are using JSON, set the context to $.*
If you are using XML, set the context to //node
Importing from another source
If you are importing from an XML or JSON source that is not from a RESTful view as configured in these instructions, you may need to use another context. See the help link on that field for ideas on how to format this.
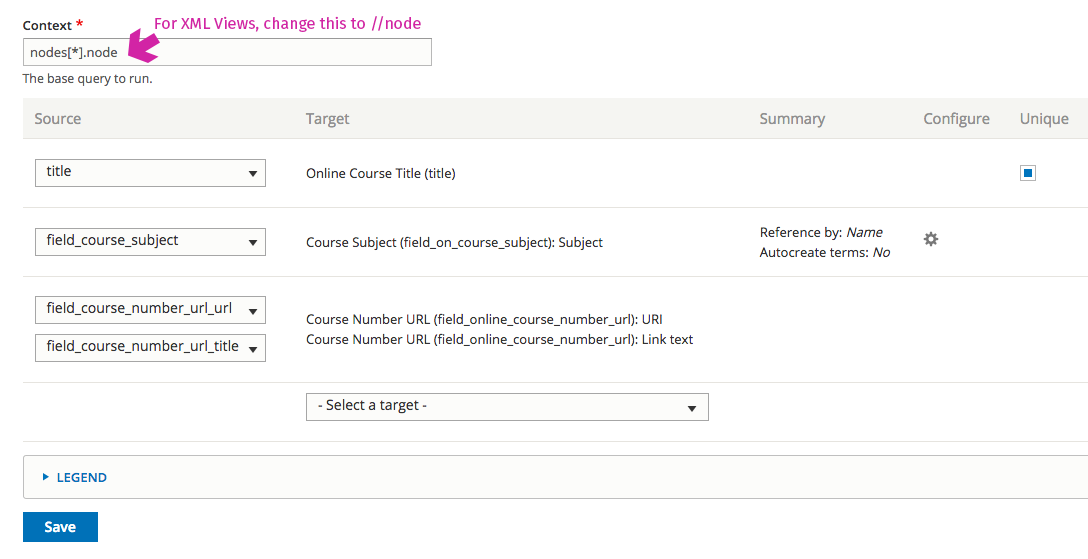
Next you will create mappings. These mappings tell the feed to take a field from the JSON file, and associate it's data with a field in Drupal.
First, Select a Target. This is the Field you are mapping to.
A Source drop down will then appear. Select New xpath source
A text box will appear. In this textbox, put the field name as it appears in the JSON file.
Tip: Test early and Often
It's tempting to create all your mappings at once, but you will have a much easier time troubleshooting your feed and making sure the context is set correctly if you start with 1-2 fields first. After this, add a few fields at a time, importing after every couple of fields.
Essential: Unique Mapping
You will need at least one unique mapping. This unique mapping is how feeds keeps track of nodes. If content on the export site changes, feeds can update existing nodes on the import site with the unique mapping. If it's missing, feeds will create duplicated content.
A good practice for this is to use the NID or GUID from your export source, and import it into the Feeds Item GUID target.
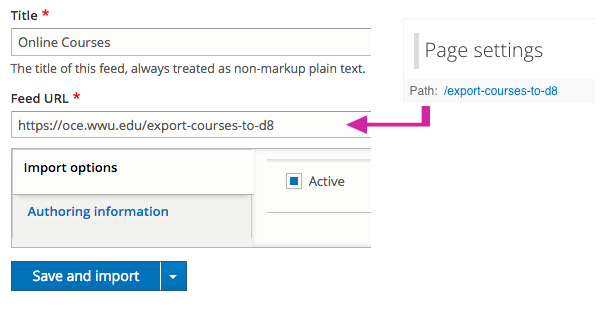
Create the Feed and Test
To test your feed, you first need to... create it! All we've done so far is create the feed type, but not the feed itself.
So go to Content > Feeds > Add Feed. Name this feed and set the URL, which is the path to your JSON or XML document that you created in the view on your export site.
Click Save and Import.
If all goes according to plan, your feed should think for a moment, and create some new nodes. If you look at those nodes, they should have the data from the export site!
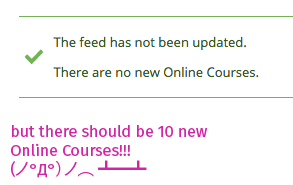
To be real, things almost never go according to plan at this point.
Thankfully, the errors that get thrown at this point are generally pretty good hints at where things went wrong. Sometimes it's something with the view, and sometimes it's an issue with mappings. You may also need to check the reports under Reports > Recent Log Messages for clues.
The best advice I can offer is keep tweaking things on your view and in your mappings, double check your context, and keep importing until things start working. There are a lot of details involved in the process, so a second set of eyes never hurts either.
Finishing up
There are only a few steps left at this point:
- Continue adding mappings until you have all of your fields
- Once everything seems to be working correctly, go back to your original view and change it from only displaying 10 items to displaying all items. Remember, no pagers!
When everything is configured, you can bring over hundreds or thousands of nodes in mere moments. Pat yourself on the back, you've done a great job.
Feeds Tamper
Feeds tamper is a useful tool for altering data at the point where it gets imported, but before the node gets created. Some really common uses for it:
- Strip out white space before/after text
- Decode HTML, for example when things like, "See & be seen" should be changed to "See & be seen"
- Find and replace, say when you're changes a field that reads "Dr." to instead read "PhD"
- Import plain text time/date formats
And all sorts of other cool things.